KPovModeler 0.2
Written by Olivier Saraja (olivier_at_linuxgraphic.org)
English version
Step 5: Setting a Material for the Ground
Please select the Ground prior to adding any material properties to it. Many possibilities await us, but we will stay close to something quite easy for now.
Using the menu: Insert > Textures > Pigment
Using the toolbar: click on theicon

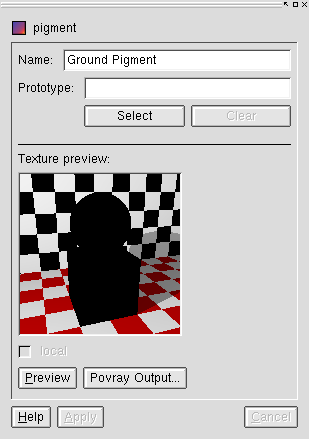
In both cases, a popup window will prompt you to choose the way the object should be inserted. Please choose First Child. The Pigment now appears in the Object Tree. You can change its name in the Object Properties View (Name=Ground Pigment), and click on the Preview button in order to see how the pigment looks like for now.

Of course, the Preview of the pigment shows nothing but a black matte material, because we need to refine the pigment settings. Anyway, keep in mind you always can preview the look and feel of your materials using the Preview button. We will now define the pigment colors. Again, many possibilities await us, but we will choose one of the most straightforward for now.
Using the menu: Insert > Textures > Color List
Using the toolbar: click on theicon
If no color shows on the box and the sphere of the Preview, click on the Apply button before calling for a Preview.

The ground material has been succesfully set! If you render your picture
now, using the  render icon, you should get the following result:

Of course, these colors are not the ones you could have expected. We still have to see how we can customize them. In the case of the color list, you have to define two new sets of attributes, called Solid Color. In the Object Tree, make sure the Color List entry is selected. Then go through this two times (you can't do it more, anyway, as the Ckeckers Color List can only afford the use of two Solid Colors):
Using the menu: Insert > Textures > Solid Color
Using the toolbar: click on theicon
One after another, in the Object Tree, select the two Solid Colors and change their color attributes in the Object Properties View:

...these attributes are for the #1 solid color (press Apply!),

... and these attributes are for the #2 (press Apply again!).
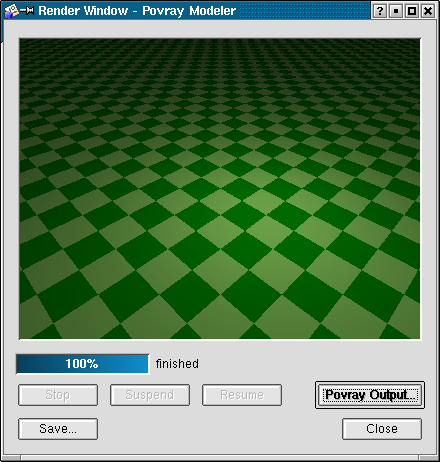
Of course, a new rendering of our scene will prove that everything has been taken into account accordingly:
